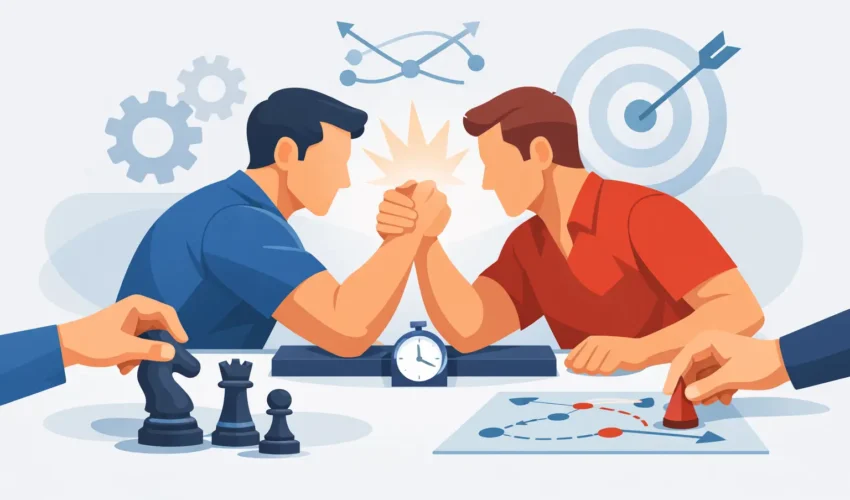

A big bicep gets attention. A smart arm wrestling technique gets the pin. The difference shows up before the referee says go: where your knuckles sit, how high your hand is, whether your wrist is connected to your body, and whether you have a real lane to attack.
Arm wrestling is not a carnival trick or a pure strength contest. It is leverage under pressure. A smaller puller with better hand control, better positioning, and patience can make a strong gym athlete feel like their arm disappeared. The flip side is just as real: bad position and blind side pressure can turn a fun table pull into an avoidable injury.
Start With a Safe, Legal Setup
Rules vary between casual tables, local tournaments, and sanctioned competition, but the mechanics of a strong setup stay consistent. Bring your body close to the table, grip the peg with your free hand, and place your elbow securely on the pad. Your shoulder should be behind or near your hand, not hanging far out to the side.
Before the start, aim to own height. High knuckles give you room to climb over an opponent’s fingers and apply back pressure. Keep your wrist slightly cupped rather than bent backward. A bent-back wrist opens your hand, leaks power, and gives the other puller an easy route to attack your fingers.
Do not squeeze your grip at maximum effort before the match begins. That burns energy and makes your hand rigid. Instead, close your fingers with intention, keep tension through your thumb, and feel where their hand is weak. If their fingers are tall but their wrist is loose, attacking the hand may be available. If they are deeply cupped and compact, a direct hand fight may be a bad bet.
Your feet matter too. Set them before the start, not after you get hit. Most right-handed pullers place the right foot closer to the table and use the left foot for balance, but table height, body size, and style can change what feels strongest. The goal is simple: build a stable base that lets you move your torso without falling away from your arm.
Arm Wrestling Technique Begins With Hand Control
The hand is the steering wheel. If you lose your wrist and fingers early, your arm strength becomes much less useful. Three actions drive most effective hand control: cupping, pronation, and rising.
Cupping means pulling your wrist inward so your palm and fingers close around the opponent’s hand. It protects your own hand and makes it harder for them to access your fingers.
Pronation is turning your thumb-side knuckle over and through their hand. Think of trying to pour a drink with your thumb pointing down slightly. This stops their palm from facing up and helps you peel their fingers open.
Rising means lifting through your knuckles and hand height. It is not a dramatic shoulder shrug. It is a controlled effort to make their grip carry your hand higher than they want.
These actions work best with back pressure. Instead of driving sideways at the go, pull your hand toward your own shoulder while maintaining your wrist position. Back pressure stretches their arm, shifts their weight forward, and creates the opening for a finish. Side pressure is valuable, but it should usually arrive after you have created control.
Choose the Right Lane: Top Roll, Hook, or Press
There is no single move that beats every opponent. The best choice depends on whose hand is stronger, who owns the wrist, and how the match develops.
The Top Roll
A top roll attacks the fingers and wrist. Rise through your knuckles, pronate over their hand, and pull back toward your side of the table. You are trying to turn their palm upward, open their fingers, and make their wrist bend back.
This move is a strong option when you have longer fingers, strong pronation, or an opponent who grips too low or too hard. It is also a useful survival tool when someone is stronger inside. Do not confuse a top roll with simply pulling your hand away. Your hand must stay connected while your knuckles climb and your body moves back.
The Hook
The hook brings the match inside. Cup your wrist, pull your opponent toward you, and bring your palm and forearm into a tighter, more compressed battle. Once the hook is established, biceps, wrist flexion, and side pressure become much more important.
A hook can be brutal against a puller who cannot contain your wrist. But it demands conditioning. If your wrist is already opening, forcing an inside hook often feeds the opponent exactly what they want. Secure your cup first, then bring the match inside.
The Press
The press moves your shoulder forward over your hand and drives downward through the opponent’s arm. It can end a stalled match fast, especially after you have forced their arm open or tired their hand.
A press is not a reckless lean. Keep your hand and shoulder moving together, maintain contact with the pad, and follow the rules of the table. If your hand is trapped while your torso twists away, stop fighting for a highlight-reel finish. That position can put dangerous rotational stress on the upper arm.
The First Second Is the Whole Fight
Most arm wrestling matches are decided by the first clean surge. At the start, avoid a wild sideways hit. Pull back, rise, and keep your wrist engaged. Let the opponent reveal whether they are attacking your hand, dragging you backward, or trying to pull inside.
If you gain their fingers, do not rush the pin with a loose arm. Keep pronating, bring your shoulder behind your hand, and apply controlled side pressure. If they stop you near the pad, stay calm. A stopped match is information. Feel whether their wrist is opening, whether their elbow is drifting, and whether they are spending more energy than you are.
When you are losing, fight for hand height and wrist position before trying to muscle back to center. A small recovery in your knuckles can change the entire angle. Pulling harder with a broken wrist usually just makes the losing position more exhausting.
Train the Positions, Not Just Your Biceps
Curls help, but arm wrestling rewards specific strength. Your forearms, fingers, wrist, pronation, shoulder stability, and connective tissue need time under controlled load. Train two or three times per week around your regular lifting, and build gradually. Tendons adapt slower than muscles.
Useful work includes wrist curls for cupping, reverse wrist curls for balance, hammer curls, thick-handle holds, pinch grips, cable pronation, and rowing variations that let you pull back with a neutral or pronated hand. Light band work for the rotator cuff and higher-rep extensor training can help keep elbows and wrists happier as table volume increases.
Table practice is its own category. Start with controlled rounds at roughly half effort, focusing on setup and lanes rather than pins. Use a training partner who can communicate. One hard, ugly pull against an inexperienced partner is not productive practice.
For a simple session, warm up your shoulders, elbows, wrists, and fingers for several minutes. Drill top-roll and hook entries without full force. Pull a few controlled rounds, then finish with one or two accessory movements for wrists and pronation. If sharp pain appears in the elbow, shoulder, biceps tendon, or upper arm, shut it down.
Mistakes That Kill Power and Raise Risk
The most common mistake is leading with side pressure while the wrist is open. You may feel powerful for a fraction of a second, but your force is no longer traveling through a solid hand-and-arm structure.
Another mistake is separating the hand from the shoulder. If your hand is near the center but your shoulder is far behind you, you are trying to pull with a long, weak lever. Bring your body into the action. Arm wrestling is a full-body strength sport performed through one hand.
Finally, do not twist away from your hand when you are losing. Keep the shoulder aligned with the direction of force, respect the referee’s safety instructions, and know when to release. No casual table win is worth a serious arm injury.
The best next step is simple: find a solid table, pull with people who care about safety, and film a few controlled rounds. Watch where your wrist opens, where your shoulder drifts, and where you lose height. Those details are where stronger, more explosive matches are built.