
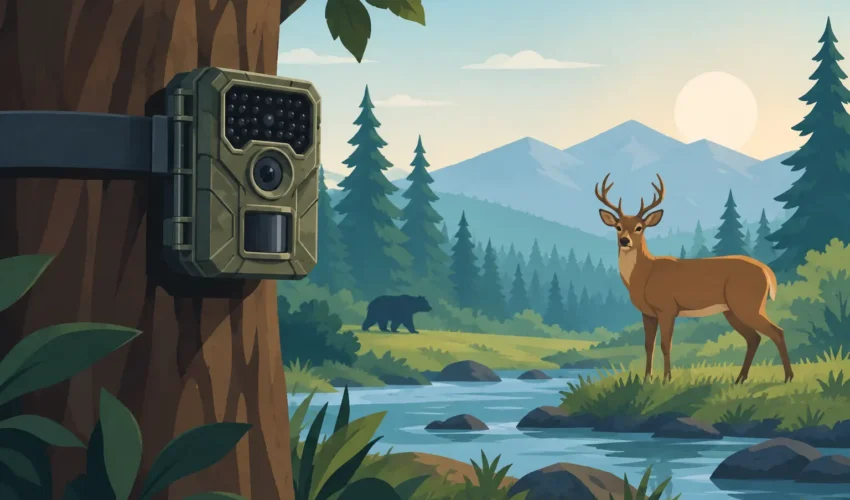

A deer exploding through fresh snow. A fox stopping just long enough to stare into the lens. Two raccoons arguing over a creek crossing at 2 a.m. Wildlife camera traps catch the moments that disappear before a person can even reach for a phone. The best clips feel almost unreal because they reveal what happens when the woods, desert, marsh, or backyard think nobody is watching.
Wildlife Camera Traps Start With a Story
A camera trap is more than a motion-activated gadget strapped to a tree. It is a silent observer. It waits through rain, heat, darkness, and long stretches of nothing for a few seconds of animal behavior that can be funny, intense, beautiful, or downright strange.
That is why this footage works so well on video. It has natural suspense. Viewers do not know whether the next visitor will be a house cat, a black bear, a bobcat, or a buck with a rack big enough to stop the scroll. A clean 20-second clip can deliver a surprise faster than a heavily produced outdoor video.
But spectacular footage is not just luck. It comes from reading the ground, understanding how animals move, and setting a camera to do its job without disturbing the animals you want to see. The goal is not simply to record wildlife. It is to capture a real moment without turning it into a problem for the habitat or the animal.
Choose Gear for the Conditions, Not the Hype
Trail cameras range from basic units that record short clips to higher-end models with sharp night video, fast triggers, wide-angle lenses, and cellular alerts. The most expensive option is not automatically the best one. A camera placed close to a narrow game trail needs different strengths than one watching an open meadow 40 yards away.
For most wildlife video projects, focus on four features:
- Fast trigger speed, so an animal is not already leaving the frame when recording begins.
- Low-glow or no-glow infrared illumination for nighttime footage with less visible disturbance.
- Reliable video resolution and frame rate, especially if clips may be cropped or edited for larger screens.
- Battery life and weather sealing that match the location and how often you can check the camera.
Audio matters more than many people expect. Night insects, wings beating near the lens, a turkey gobble, or an elk bugle can turn ordinary footage into a clip with real atmosphere. Still, a camera with excellent sound but poor placement will not save the shot.
Avoid treating cellular cameras as a magic answer. They are useful for monitoring activity without frequent trips into sensitive areas, but they depend on signal, data plans, and battery performance. In remote country, a standard camera trap you can retrieve on a planned schedule may be the smarter move.
Where to Place Wildlife Camera Traps
Animals usually follow efficient routes. Your job is to find the routes, not force the animals toward the camera. Look for compressed dirt, tracks, scat, claw marks, broken vegetation, trails under fences, creek crossings, ridge lines, and the edges where cover meets food or water.
A narrow trail is a strong starting point because it limits where the animal can travel. Position the camera roughly 10 to 15 feet from the trail, then angle it slightly down the route rather than straight across it. This gives the motion sensor more time to react and lets the animal stay in frame longer. A bear walking toward the lens can create a powerful close-up, but a side or angled pass usually produces a more complete clip.
Height changes the mood. Mounting a camera around chest height can create eye-level footage that feels immediate and cinematic. Lower placements can make small animals look huge, which is great for squirrels, skunks, armadillos, and ground birds. Higher placements can protect the camera from curious animals and flooding, but they may make the footage feel detached.
Think about the background before you secure anything. A clean patch of forest floor, a creek bank, or a sunlit opening gives the subject room to stand out. Tall grass waving directly in front of the sensor can trigger dozens of empty recordings. Branches, vines, and leaves are even worse on windy days. Clear only what is necessary, and do not alter the landscape just to make a shot look cleaner.
Sun direction can make or break daytime footage. A camera aimed east or west may spend part of the day facing direct glare, leaving you with washed-out video and harsh silhouettes. North-facing placement often gives more even light, though terrain and the animal route matter more than a rule of thumb. Set up for the movement first, then reduce exposure problems where you can.
Settings That Turn Random Clips Into Watchable Footage
Start with a 20- to 30-second video length. Ten seconds can cut off the action just as it gets good. Longer clips capture more behavior but eat storage and battery life, especially in places with constant movement. If the camera offers a delay between triggers, keep it short on an active trail so you do not miss a second animal following the first.
Use the highest practical resolution, but do not chase numbers without considering storage. Crisp 1080p footage is often more useful than heavily compressed higher-resolution video. It loads faster, stores more efficiently, and is easier to sort through after a long deployment. For slow-motion possibilities, choose a model with a higher frame rate if daylight performance remains strong.
Night settings need testing. Infrared video can look dramatic, but reflective surfaces close to the lens can blow out the image. Wet rocks, pale bark, and tall grass can all bounce infrared light back into the camera. Make a few test recordings after dark before leaving the setup for weeks.
Keep camera time and date accurate. It sounds minor until you are trying to compare activity across several locations or notice that coyotes pass through 15 minutes after deer every evening. Patterns make better stories. They also teach you when to return, what to adjust, and when a location has gone quiet.
Get the Shot Without Harassing Wildlife
The most impressive wildlife footage respects distance. Do not bait animals where baiting is illegal, restricted, or likely to change their behavior around people. Do not set cameras near dens, nests, roosts, or known breeding sites. A viral clip is never worth stressing an animal during a vulnerable period.
Check local rules before placing equipment on public land. Regulations can vary by park, state, wildlife refuge, and hunting area. Some places limit camera use, require identification on the unit, or prohibit cameras in certain zones. Private land requires permission, even when a trail looks unused.
Scent is another trade-off. Human scent may make some animals avoid a camera temporarily, while others barely react. Wear gloves if you want to reduce handling scent, move calmly, and avoid checking the camera too often. Every visit leaves noise, odor, and ground disturbance behind. Give the setup time to work.
Keep location details private for sensitive species. Showing a general landscape is one thing. Broadcasting the exact den, nest, or rare-animal hotspot can invite crowding, poaching, or careless interference. Great wildlife creators know when a location is part of the story and when it needs to stay off-camera.
Make the Best Clips Easy to Watch
Most camera-trap footage needs a hard edit, not a complicated one. Cut the dead seconds before the animal arrives and after it exits. Let the strongest moment lead: the leap, the stare, the chase, the unexpected visitor, or the strange interaction. If there is no action, a short clip can still work when the animal is visually striking or the setting feels wild.
Label species carefully. If you are unsure, say so rather than confidently misidentifying an animal. Viewers who know wildlife will notice, and honest captions invite useful discussion instead of avoidable arguments. Time, weather, habitat type, and a brief note about behavior can add context without slowing down the clip.
For creators posting wildlife footage on VIDS24, the winning formula is simple: give viewers the animal fast, make the title specific, and save the mystery for the moment itself. A title built around a real encounter beats vague hype every time.
The camera will spend most of its life recording empty woods. That is part of the deal. Then one morning, you will open a file and find a wild animal doing something nobody saw in person. Set the camera with patience, leave the habitat better than you found it, and let that rare moment speak for itself.